How to Make AI Images Look More Natural
A creator-friendly checklist for polishing generated visuals before posting.
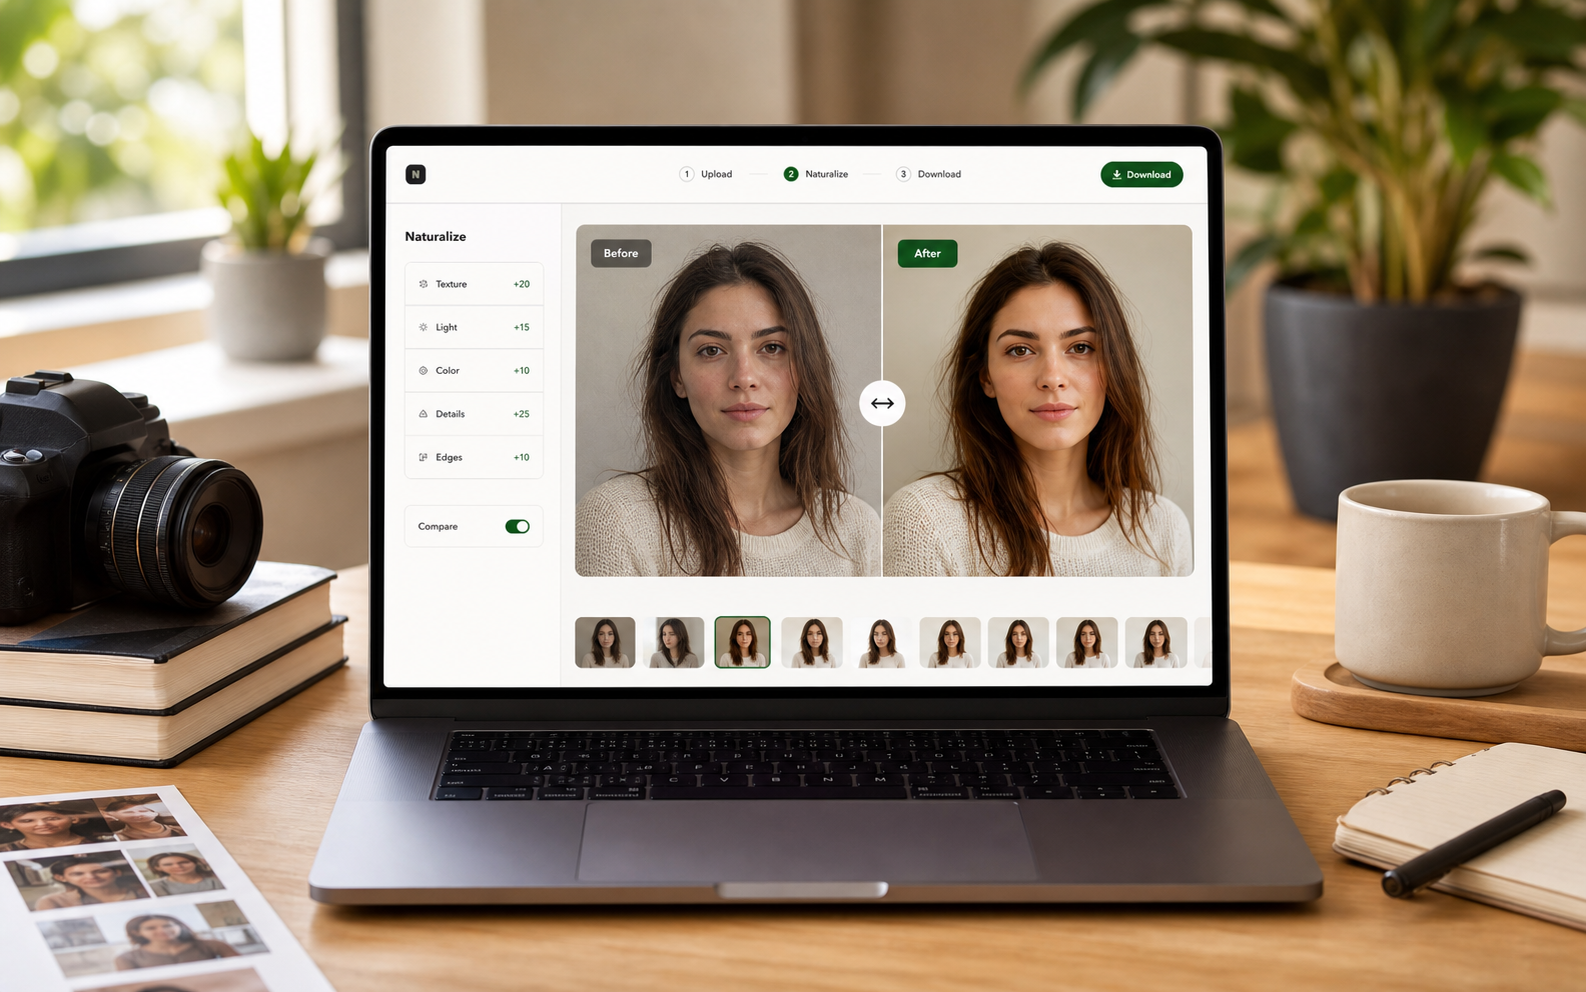
This article serves users who are ready to edit, not just learn definitions. It focuses on the practical order of operations for making generated images feel natural before posting.
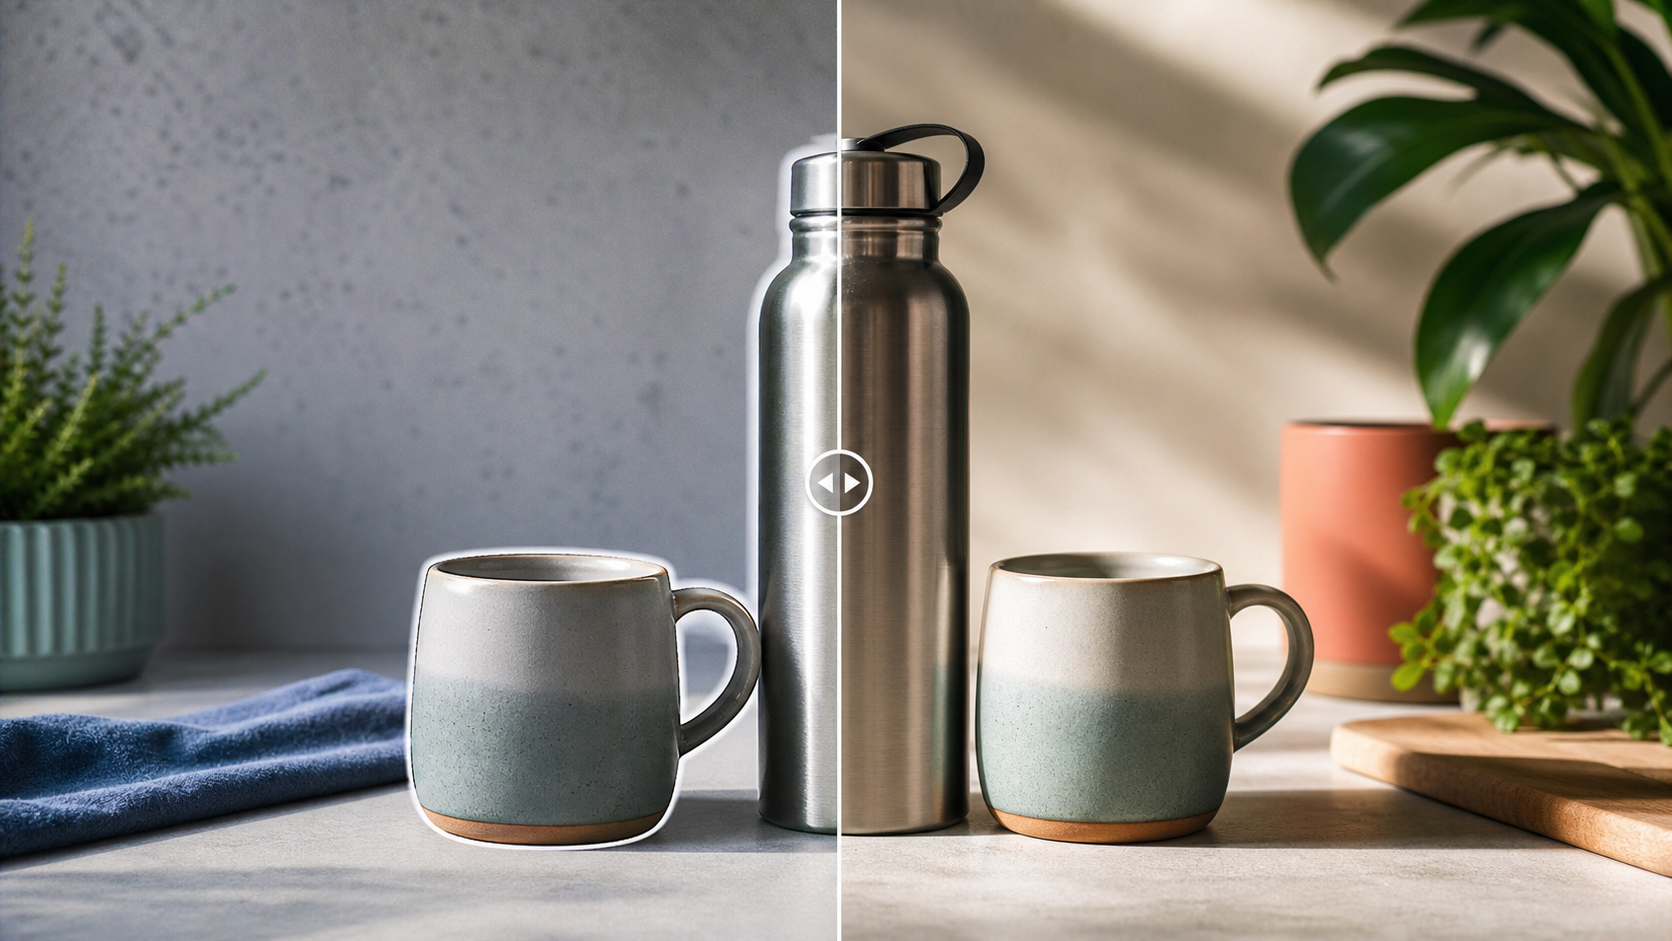
A lifestyle post that needed restraint
The original image had a strong mood but looked too smooth after a generic enhancer. The winning workflow was lighter: fix edge halos, add believable surface detail, and keep the crop close to the original so it still matched the creator's feed.
Start with the parts a viewer will inspect
For portraits, start with skin, eyes, hair, and hands. For products, start with material, shadow, reflection, and background contact. Do not spend time on corners that will disappear in the final crop.
Natural does not mean noisy
A common mistake is adding heavy grain or contrast. Natural images have uneven detail, but the detail follows the subject: skin texture on skin, fabric weave on fabric, and shadow softness that matches the light.
Check the final platform crop
A result can look good full-size and still fail as a reel cover, newsletter image, or marketplace thumbnail. Always check the actual crop before downloading the final version.
Pre-publishing checklist
- Choose the final crop before editing.
- Clean edge halos around the subject.
- Rebuild material texture without over-sharpening.
- Match shadow softness to the scene.
- Review the image on mobile size.
Recommended workflow
- Upload the image and choose Clean mode.
- Compare before/after around the subject boundary.
- Download the cleaner result or run Realistic for a more camera-like finish.