Why AI Images Have an AI Vibe
A practical guide to synthetic texture, plastic skin, lighting mismatch, and unfinished details.
People searching this topic usually have a generated image that feels off but cannot name the exact flaw. The page targets AI slop, plastic skin, lighting mismatch, repeated texture, and unfinished generated-image polish.
A creator cover that looked polished but not believable
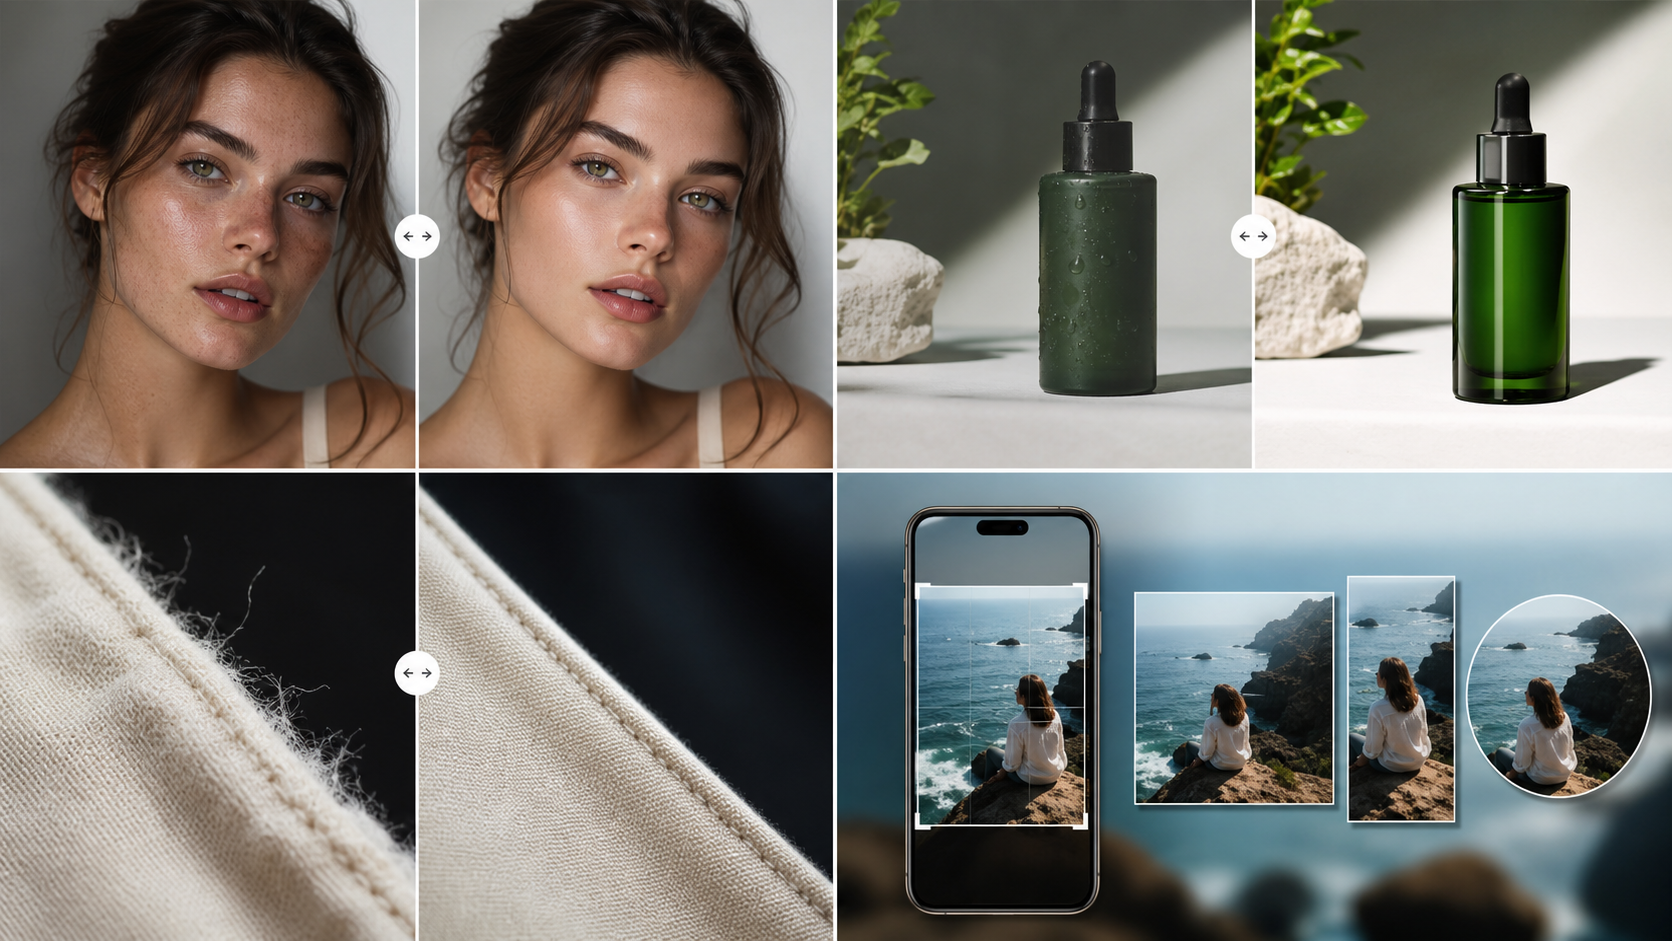
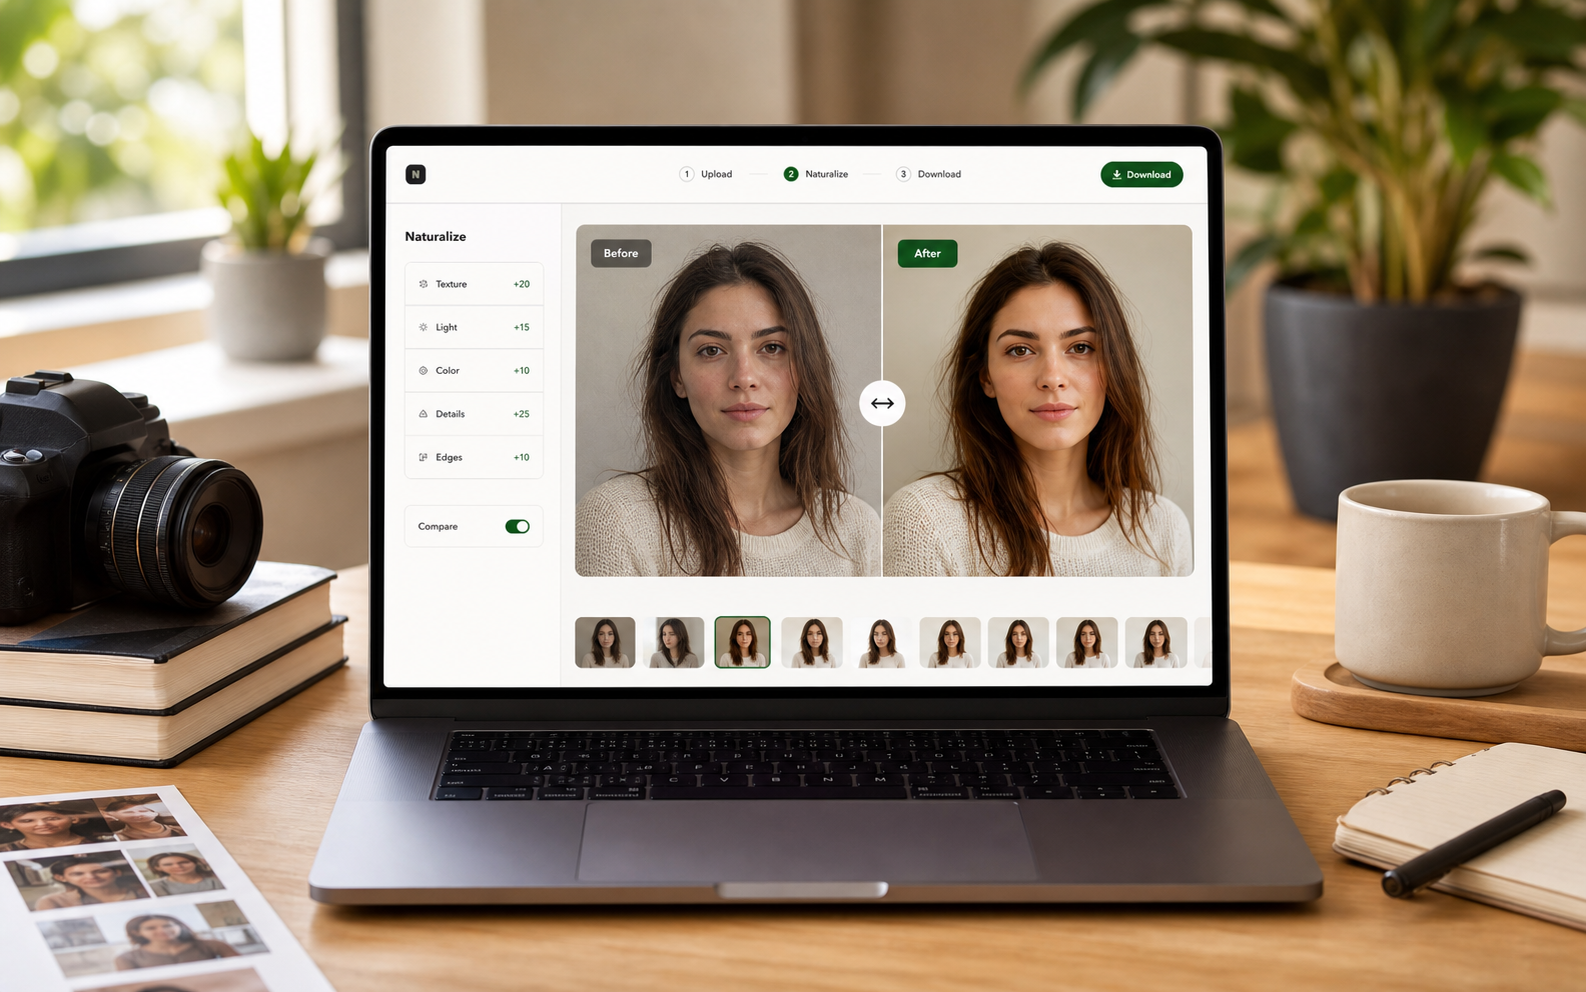
The image had a strong composition, but the skin texture was too even, the hair edge fused into the background, and the warm light did not match the shadow direction. A naturalization pass should keep the pose while rebuilding local texture and depth cues.
AI vibe is usually a stack of small signals
One flaw rarely ruins an image. The synthetic feeling usually comes from several details appearing together: waxy skin, repeated background grain, impossible shadows, extra-smooth fabric, and edges that look cut out instead of photographed.
Viewers notice people, products, and shadows first
If the image contains a face, hands, a hero product, or a clear cast shadow, inspect those zones before anything else. They carry the trust signal for the whole image and decide whether the visual feels publishable at thumbnail size.
Do not over-correct every pixel
The goal is a credible finish, not a sterile one. Preserve the original composition and identity of the image, then repair the local details that make it read like mass-produced AI content.
Pre-publishing checklist
- Inspect skin texture at 100% zoom.
- Compare shadow direction with the main light source.
- Look for repeated background texture.
- Check hair, fabric, and product edges.
- Preview the image as a small social thumbnail.
Recommended workflow
- Run Clean AI Vibe first to preserve the original idea.
- Use the slider to compare the most visible artifact zones.
- Switch to Realistic only when the image needs a stronger photo-like finish.